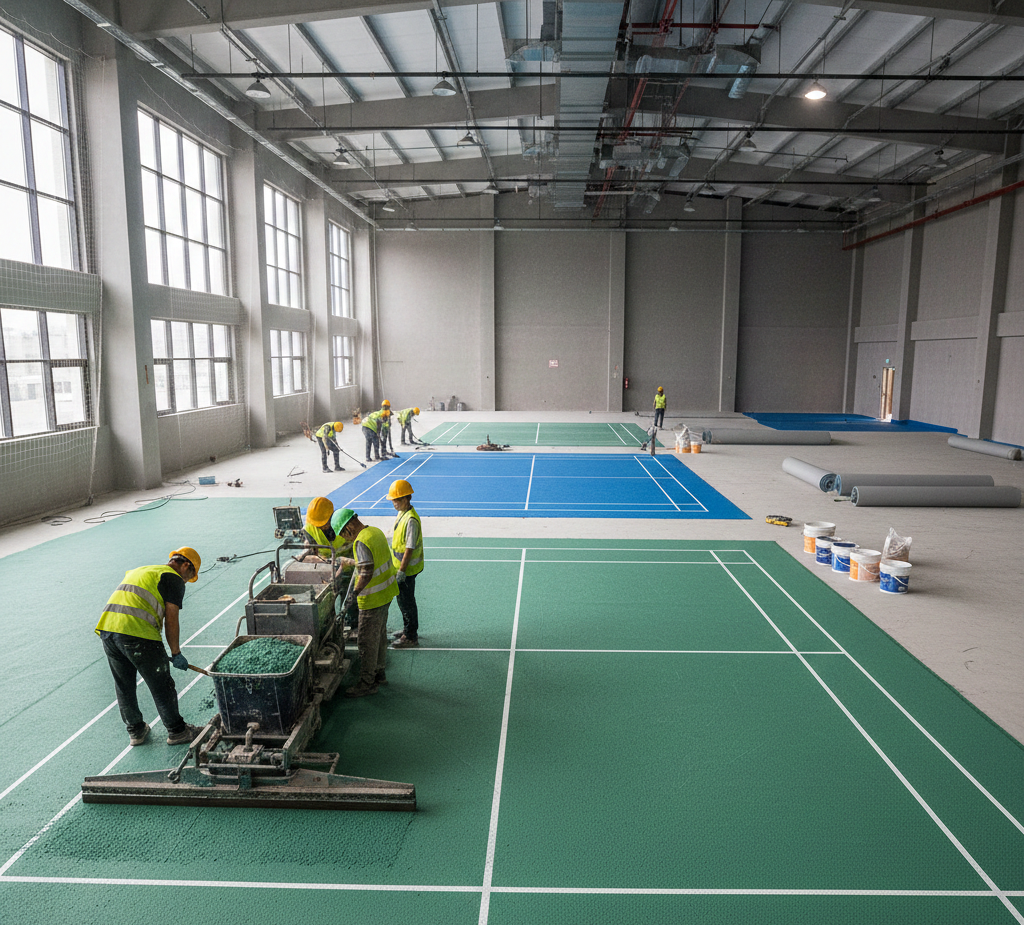
Creating a badminton court that delivers professional-level performance, safety, and long-term durability requires careful planning and technical precision. Whether the court is for a sports academy, school, commercial facility, or recreational space, the flooring is the most critical part of the entire construction process. A well-designed badminton court flooring enhances gameplay, reduces injury risks, and ensures consistent sports performance for players across all levels.
This comprehensive guide will walk you through how to make badminton court flooring step-by-step, covering everything from surface preparation to finishing, marking, and maintenance. By the end of this article, you’ll understand every aspect required to build a high-quality badminton court flooring system.
Why Proper Badminton Court Flooring Matters
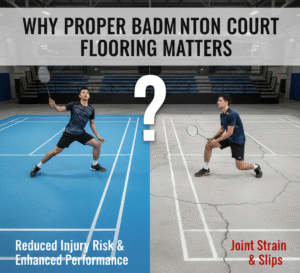
Badminton is a high-intensity sport that involves quick footwork, rapid direction changes, jumping, lunging, and continuous physical impact. Without proper flooring, players may experience injuries, reduced performance, or discomfort. High-quality badminton flooring provides:
-
Shock absorption for joints
-
Anti-slip movement
-
Smooth but firm traction
-
Stability for fast footwork
-
Uniform bounce and surface consistency
-
Longevity and low maintenance
This makes choosing the right flooring system and installing it correctly more important than any other part of the court.
STEP-BY-STEP PROCESS: HOW TO MAKE BADMINTON COURT FLOORING
1. Understanding the Flooring Types
Before beginning construction, decide which type of flooring suits your facility. The three primary categories include:
1. Wooden Badminton Flooring
Most professional and international badminton courts use wooden flooring.
Advantages:
-
Excellent shock absorption
-
Natural grip and comfort
-
High performance for athletes
-
Long-lasting with proper care
Common wood types:
-
Maple
-
Teak
-
Oak
-
Beech
2. Synthetic (PVC / Vinyl) Badminton Flooring
Synthetic flooring is widely used for schools, commercial indoor courts, and multi-purpose halls.
Advantages:
-
Anti-slip texture
-
Cushioned layers for comfort
-
Easy installation and maintenance
-
Waterproof and cost-effective
3. Interlocking Modular Tiles
Suitable for outdoor courts or temporary setups.
Advantages:
-
Easy to install and shift
-
UV-resistant
-
Weatherproof
Once you choose the material, the next phase is construction.
2. Preparing the Base Surface
A strong and durable base ensures the flooring performs well over time. The base can be made in two main ways:
A. Concrete Base
This is the most common base for indoor courts.
Steps to create a concrete base:
-
Level the ground properly.
-
Pour a reinforced concrete layer of 4–6 inches thickness.
-
Allow curing for at least 21–28 days.
-
Ensure moisture levels are below acceptable limits.
-
Level the surface using self-leveling compounds if needed.
B. Cement Screed Base
Used above RCC slabs, usually indoors.
Key notes:
-
Screed thickness: 50–75 mm
-
Proper curing is essential
-
Must be completely flat and smooth
A flawless base equals a flawless court.
3. Moisture Control & Surface Testing
-
Moisture tests
-
Surface hardness tests
-
Flatness tests
High moisture can damage wooden flooring and reduce the life of synthetic flooring. Ideal moisture level: below 6–8%.
This step is essential to prevent future warping, cracking, or bubbling.
4. Installing the Underlay System
The underlay system plays a major role in creating a comfortable and safe surface.
For Wooden Flooring:
Use a rubber or foam shock-pad underlay to improve cushioning and shock absorption.
For Synthetic Flooring:
Use a foam or rubber base layer rolled out evenly.
Benefits of Underlay:
-
Reduces joint impact
-
Enhances bounce and grip
-
Absorbs noise and vibration
-
Increases flooring life
5. Installing the Main Badminton Flooring
A. Installing Wooden Flooring
Wooden planks are installed using:
-
Kiln-dried hardwood boards
-
Double-batten or single-batten system
-
Nailing or screw-fitting
-
Expansion gaps for humidity control
After installation, sanding ensures the surface is level and smooth.
B. Installing Synthetic PVC Flooring
PVC rolls are glued over the prepared base.
Steps:
-
Roll out the PVC flooring.
-
Apply high-quality sports-grade adhesive.
-
Remove air bubbles using a roller.
-
Heat-weld joints for seamless finishing.
C. Installing Interlocking Tiles
These tiles simply snap together over the base surface.
6. Applying Surface Finishing
Different flooring types require different finishing:
Wooden Flooring Finish
-
Polyurethane (PU) coating
-
Anti-slip sports finish
-
Multiple coats for durability
Synthetic Flooring Finish
-
Anti-skid texture
-
UV protection layer
-
Wear-resistant coating
The finishing enhances player traction and improves wear resistance.
7. Marking the Badminton Court Lines
Accurate marking is essential for professional play.
Official BWF dimensions:
-
Court length: 13.4 m
-
Court width: 6.1 m
-
Singles width: 5.18 m
-
Net height: 1.55 m edges; 1.524 m center
-
Service lines and back boundary markings must follow strict measurements
Marking should be done using:
-
PU-based paint
-
Permanent tapes (for some synthetic floors)
-
High-contrast colors (usually white or yellow)
Precision is necessary for tournament-level play.
8. Lighting & Surrounding Setup (Optional but Important)
To complete the court:
-
Install glare-free LED lighting
-
Maintain illumination of 300–500 lux
-
Ensure ceiling height is minimum 7.5 meters
-
Add side curtains to avoid distractions
-
Provide ventilation for indoor courts
9. Quality Testing & Final Inspection
-
Grip tests
-
Shock absorption tests
-
Surface flatness checks
-
Visual inspection for defects
-
Adhesive curing inspection (for PVC)
10. Maintenance for Long-Term Performance
Proper maintenance ensures the court lasts 8–15 years.
For Wooden Flooring:
-
Keep humidity controlled
-
Avoid water spills
-
Re-coat PU every 2–3 years
-
Daily dust mopping
Synthetic PVC Flooring:
-
Clean with mild detergents
-
Avoid harsh chemicals
-
Use soft non-marking shoes
Modular Tiles:
-
Wash with water
-
Check joints regularly
Well-maintained courts stay safe, attractive, and high-performing.
Conclusion
Making a badminton court flooring is a structured process that involves choosing the right material, preparing a perfect base, installing the floor systematically, and finishing it with expert precision. . With proper installation and maintenance, your badminton court can offer world-class playing conditions for years to come.